Seated cable row
The close-grip seated cable row trains your mid-back (rhomboids, middle traps) and lats, with help from the biceps and rear delts. Sitting with your chest free lets you focus on pulling with your back without loading your lower back as much as a barbell row does.
Updated November 7, 2026
On this page
Why do it
It fits well on back or pull day, after a vertical pull such as pull-ups or lat pulldowns. The cable keeps tension through the whole range, so it also works for higher-rep sets.
Setup
- Sit far enough back that, with your arms straight, you feel your back stretched forward without the weight stack touching down.
- Chest up and torso nearly upright, with a slight forward lean at the start. Knees slightly bent, not locked.
- Hold the V-handle with your palms facing each other and your shoulders down, away from your ears.
How to do it
- 1
Sit on the cable row machine with your feet flat on the footrests and your knees slightly bent.
- 2
Grasp the handles with an overhand grip, keeping your back straight and your shoulders relaxed.
- 3
Pull the handles towards your body, squeezing your shoulder blades together.
- 4
Pause for a moment at the peak of the movement, then slowly release the handles back to the starting position.
- 5
Repeat for the desired number of repetitions.
Technique cues
- Start the pull by drawing your shoulders back, then bend your elbows.
- Bring the handle to your upper abs, elbows brushing your sides.
- At the end, squeeze your shoulder blades together for a moment without leaning back.
- On the way back, let your arms and shoulder blades reach forward while you control the weight.
Muscles worked
The lats and mid-back do most of the work: the lats as your elbows drive back, and the rhomboids and middle traps as your shoulder blades come together at the end. The biceps and forearms help throughout. If you mostly feel your arms, you are probably pulling with your hands: think about driving your elbows back.
- Primary
- Upper back
- Secondary
- Forearms, Biceps, Shoulders
- Equipment
- Cable row
Common mistakes
1. Swinging your torso
Leaning back to move the weight shifts the work to your lower back and momentum. Drop the weight and keep your torso nearly still, with only a slight lean on the stretch.
2. Shrugging toward your ears
Shrugging loads your upper traps instead of your mid-back. Set your shoulders down before every rep.
3. Pulling with just your arms
If your elbows never pass behind your body, your back barely works. Think elbows back and squeeze your shoulder blades at the end.
4. Letting the weight snap back
Letting the stack pull you forward wastes half the exercise. Take about two seconds on the way back and control the stretch.
Variations and alternatives
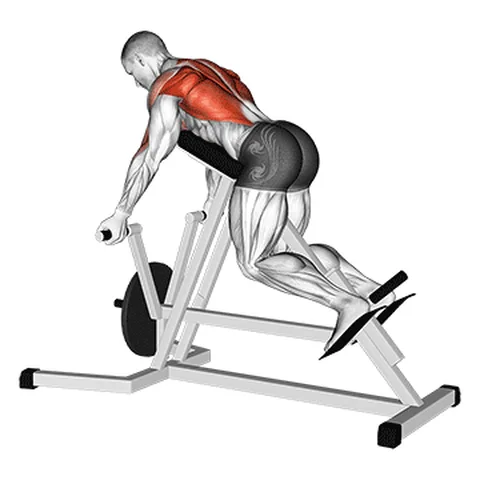
T-bar row machine
With chest support or a fixed path, you can load more without your torso moving. Useful if you struggle not to swing.
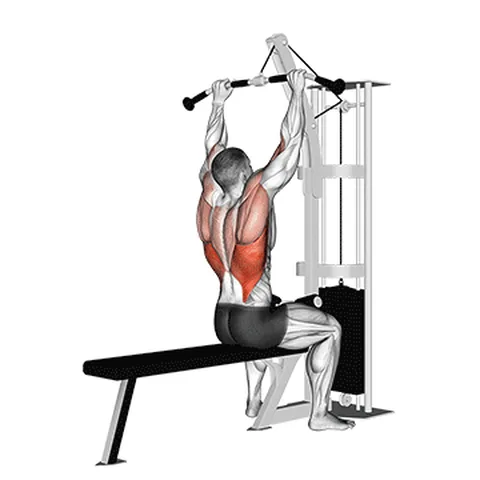
Lat pulldown
A vertical pull instead of a horizontal one: more lats, less mid-back. Pairs well with rows in the same session.
Wide-grip cable row
With a straight bar and a wider grip, your elbows flare more and the work shifts toward your upper back and rear delts.
Sets and reps
| Goal | Sets | Reps | Rest |
|---|---|---|---|
| Strength | 3-4 | 6-8 | 2-3 min |
| Muscle (hypertrophy) | 3-4 | 8-15 | 90 s-2 min |
| Beginners | 3 | 10-12 | 90 s |
Move up one plate on the stack once you hit the top of the rep range on every set without swinging. If the weight forces you to lean back, you are not ready to go up.
FAQ
Where should I pull the handle to?
To your upper abs, around or just above your belly button, with your elbows close to your sides.
Can I lean forward?
A little, to stretch your back at the start of each rep. What you want to avoid is using your torso as a lever to move the weight.
Close grip or wide grip?
A close grip keeps your elbows in and loads the lats more; a wide grip flares them and loads your upper back more. Both work; pick based on what you want to train.
Alternatives
Related exercises
At a glance
- Primary
- Upper back
- Secondary
- Forearms, Biceps, Shoulders
- Equipment
- Cable row
- Steps
- 5